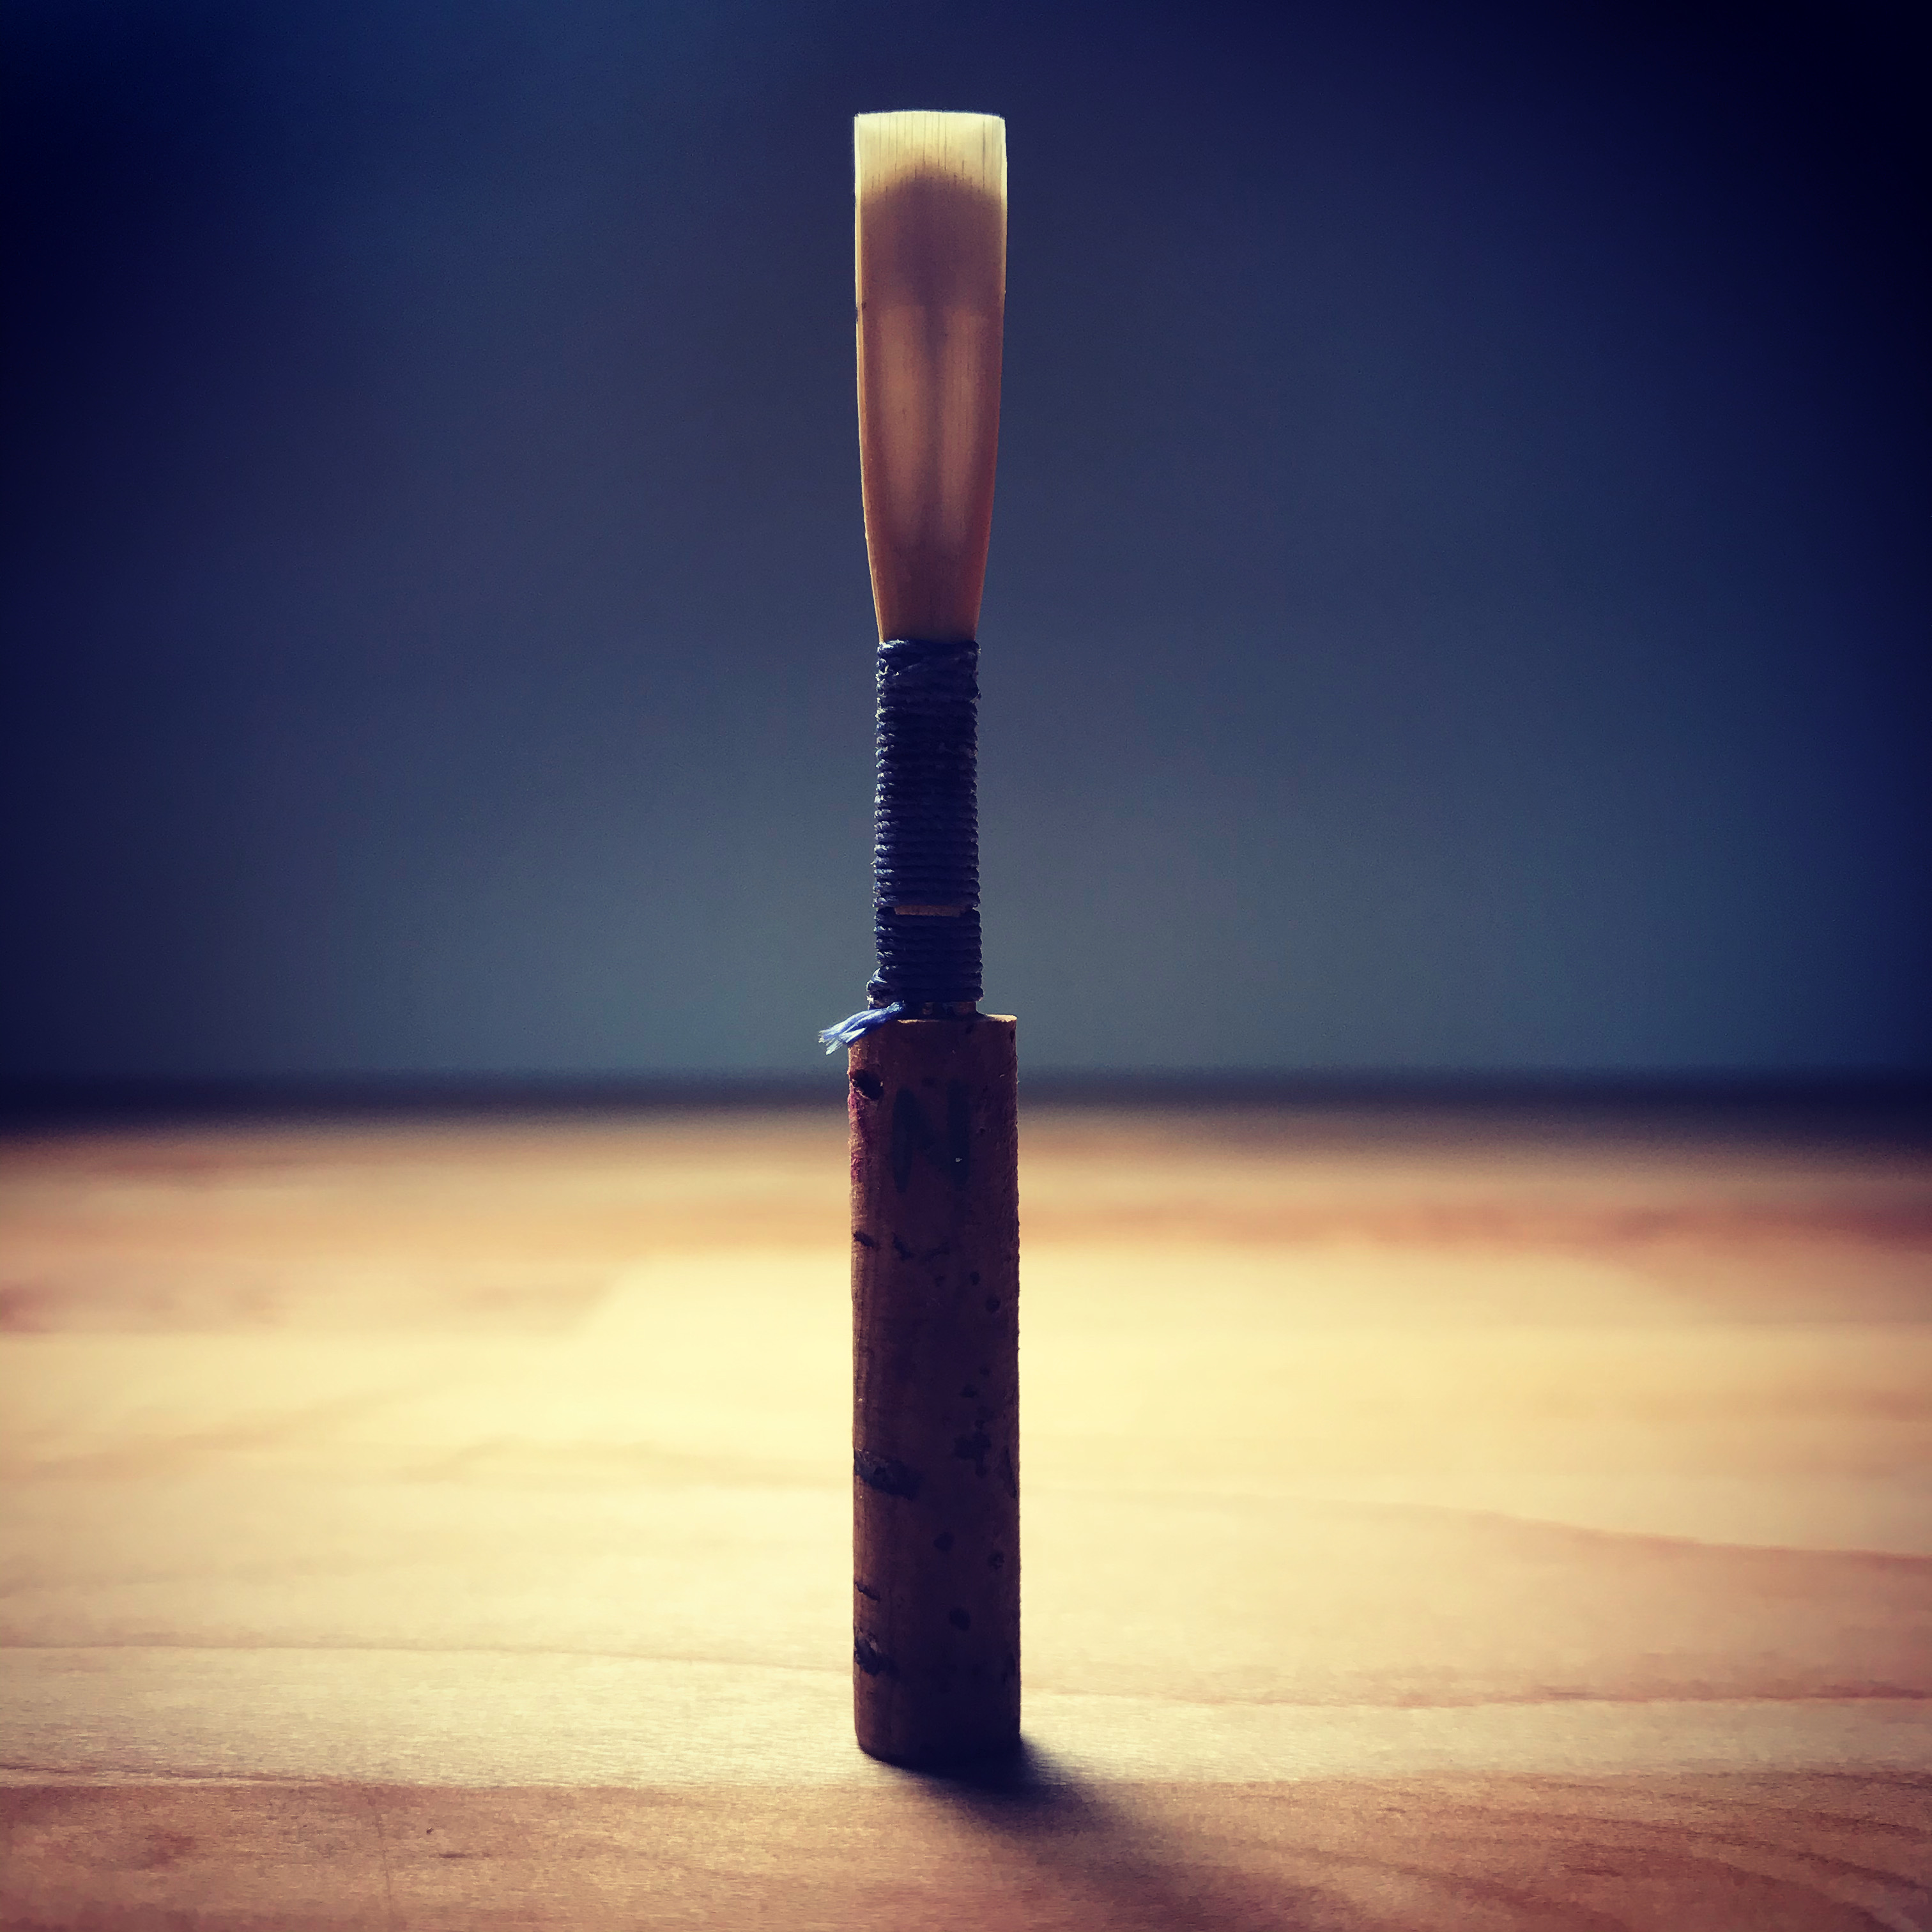
All About Reeds
Reed making is an art in itself. It is necessary to have the right tools, from quality cane, to an incredibly
sharp reed knife. Just like playing the oboe, it can take years of practice to master, and will require
great patience as the process takes significant time and energy. There are no "secrets," however there
are some excellent resources. Private study and lessons on reed making with a professional are vital. Keeping
a reedmaking journal is recommended.
Purchasing Reeds
Dr. Drewes does NOT sell reeds.
If you wish to purchase reeds, please visit some of these great local (DC, MD, VA, DE) reed makers,
who sell their oboe reeds online (there are even more non-local options on the resources page):
Bethany Slater
Jessica Warren
Kerry Willingham
David James
Resources for reed making
Making Oboe Reeds by Joseph Shalita (link to ebook)
Oboe Reed Styles by David Ledet (book)
The Art of Oboe Playing by Robert Sprenkle & David Ledet (book)
The Oboe Reed Book by Jay Light (book)
How to make a good reed last
Most importantly, keep your reeds in a safe/secure place. The perfect home for a reed is a solid oboe
reed case. All oboists should have one of these. They come in all sizes and price-ranges, but any type
will be well worth it. No reed will last forever, but storing your reed properly will help prolong its
life. Reeds should not be permanently kept in the plastic cases they are sometimes shipped in when you
purchase reeds online.
Be sure to blow excess water out of the reed before storing it. Reeds that don't dry fully can become
moldy.
Try your best to keep the reed clean, both on the inside and outside. Any kind of build-up will shorten
the reed's life. For example, you need to wipe off chapstick before playing. It is also best to brush
your teeth before playing, especially if you've eaten recently.
Keep in mind that it is very important how you soak a reed. Generally all
you need to do is dip the reed, up to the string, in room temperature water, let it sit for a minute or
two, then you can play. Do not soak the cork as it will corrode and eventually fall off. There are also
some tricks for finicky reeds: If a reed is getting old, it may be a bit too
closed/soft/sharp: soak in warmer water and/or for a longer period of time.
Reeds are very delicate and slight changes in temperature and humidity can affect them. Reeds will
also change as they age, and sometimes it will be possible to "revive" them. Ask a teacher
if you're unsure or want help.
A special note about English horn reeds: The purpose
of the wire on an English horn reed is to be able to manipulate and stabilize the size of the opening
of the reed. If the reed is closing down, slide the wire up the reed to open it back up.
Reed Making Supplies
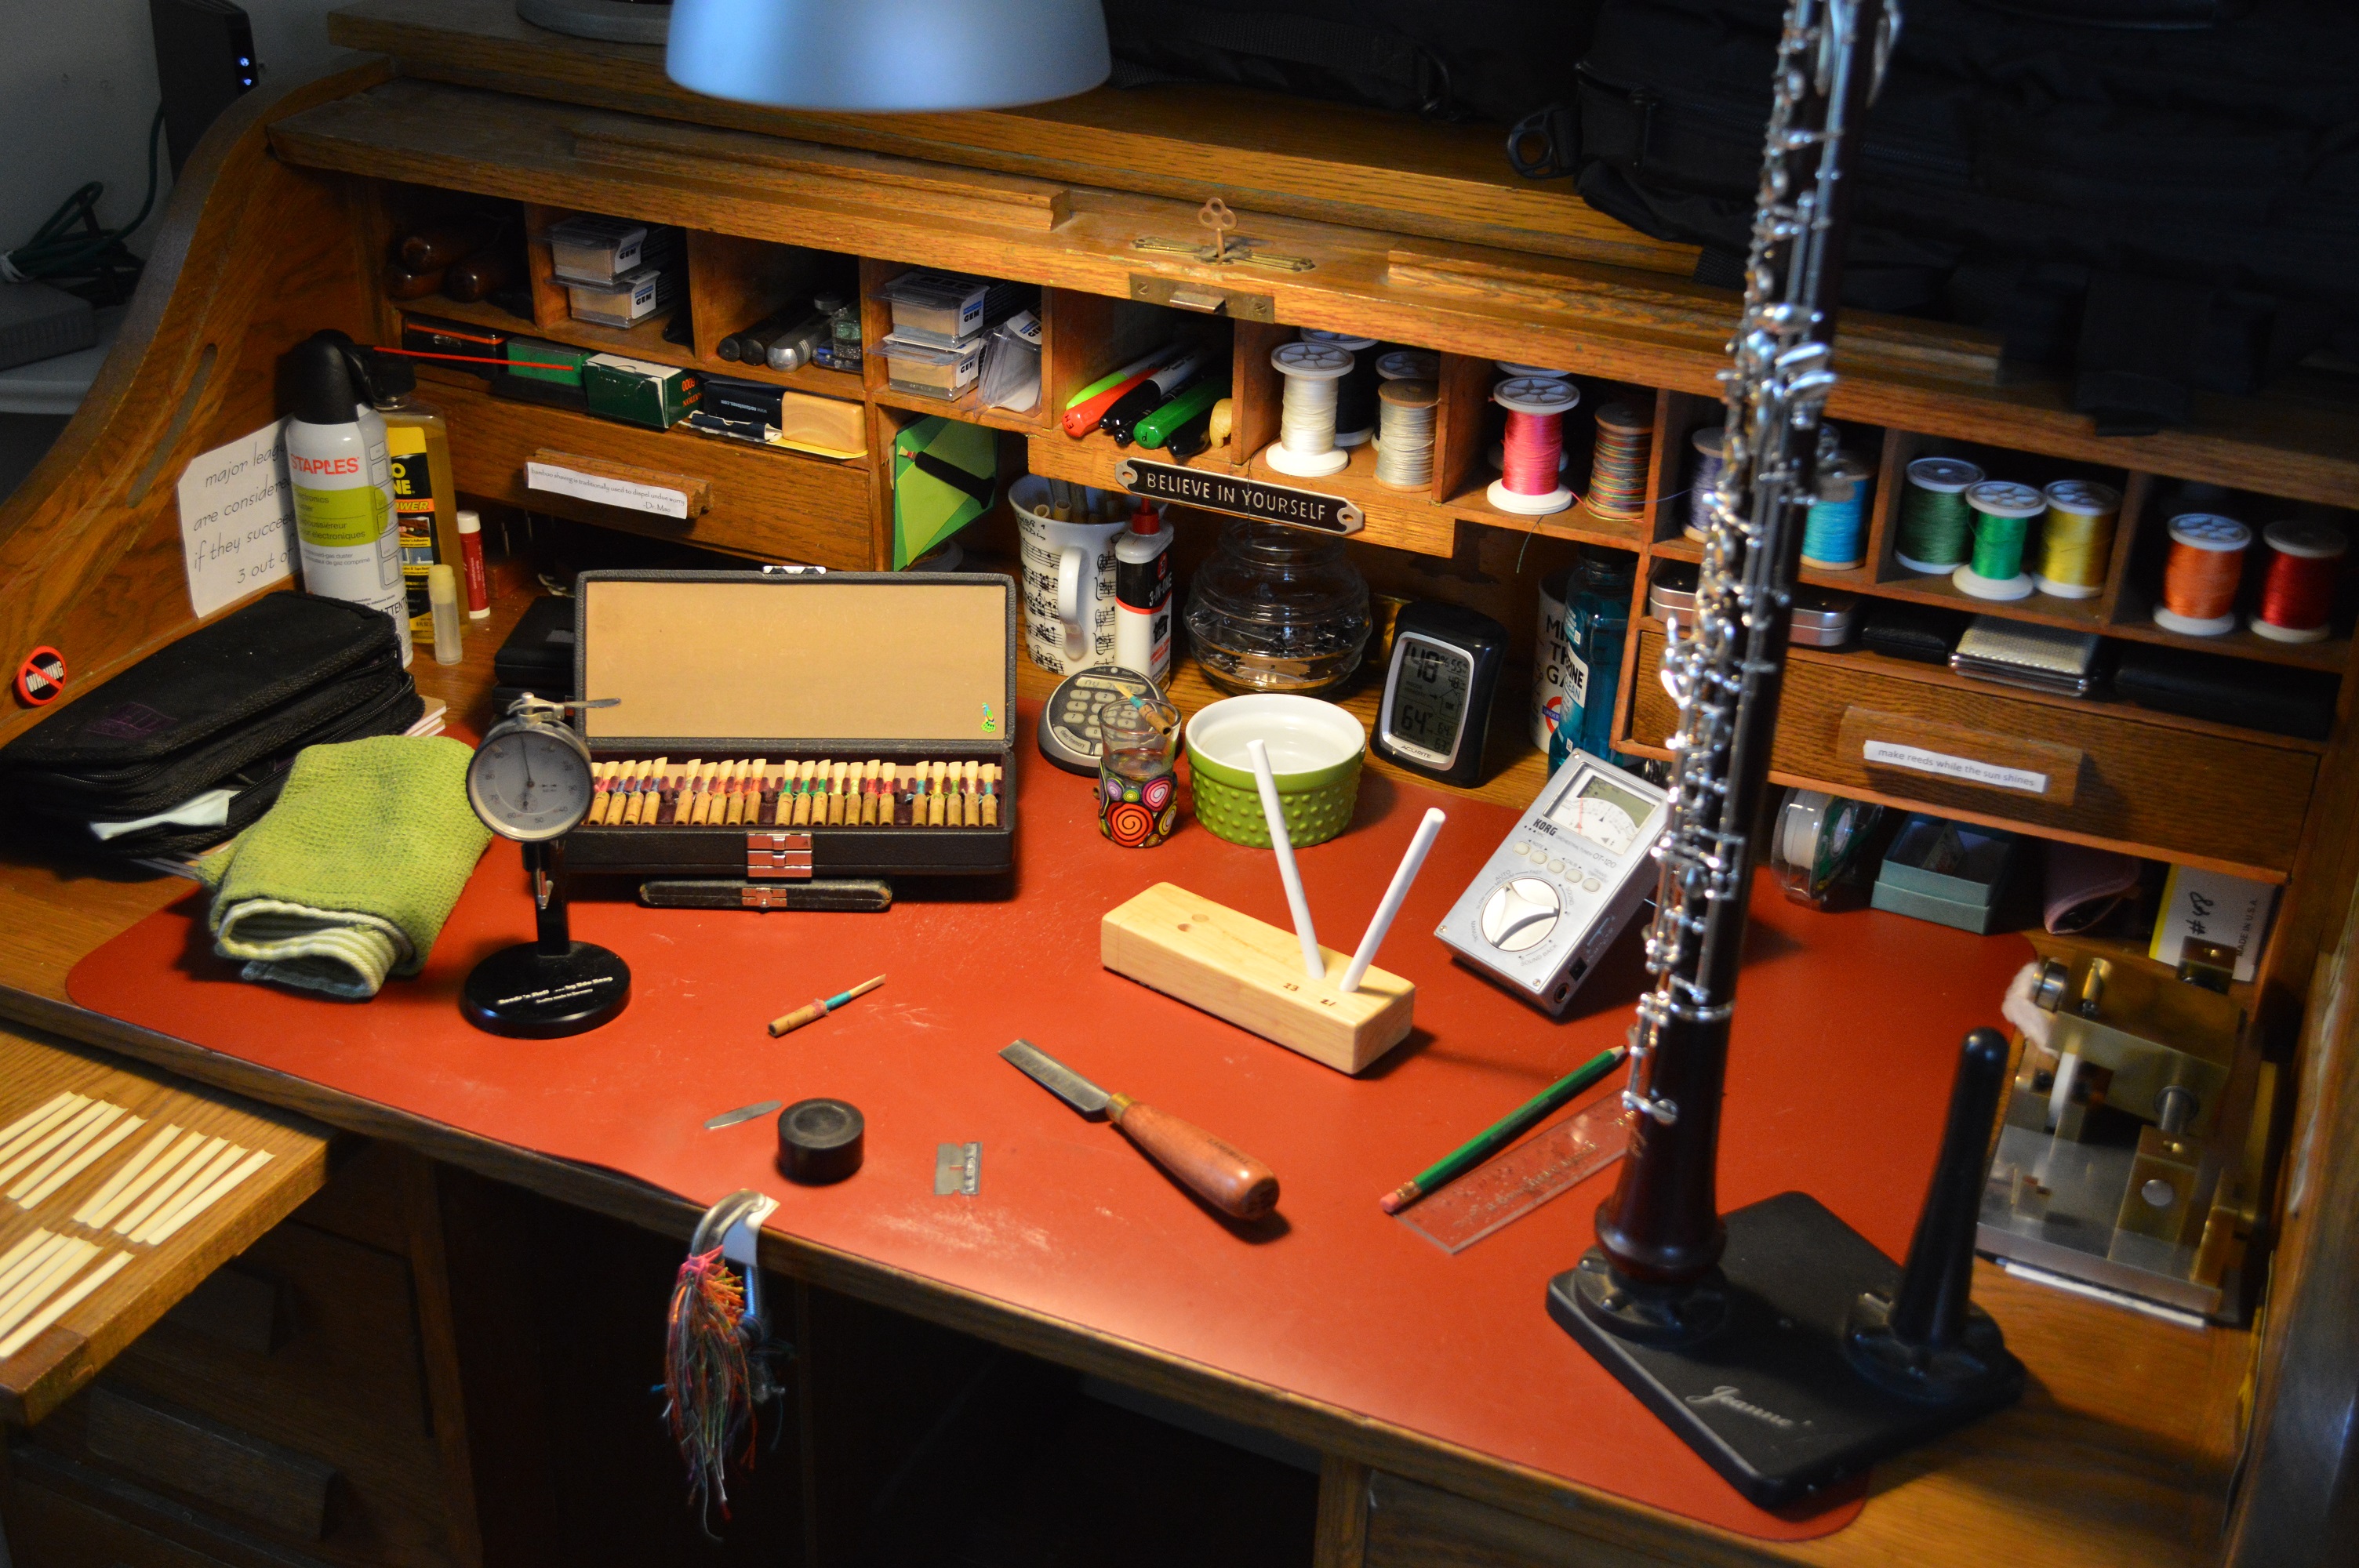
Many items are needed to make your own reeds. Below is a list of the requisite items. Most of these
items must be purchased from a dedicated double reed supply store online.
Cane To start you'll want pre- Gouged and Shaped cane. You'll need a LOT.
You will always need to have cane in stock. In the beginning just go for an inexpensive 'brand' as you're just
learning. Eventually, you will learn to gouge and shape cane yourself, and will require several additional
tools described further down on this page under Cane: Gouging
and Shaping
Staples - get at least 10 (I use Sierra 47mm bronze from Mark Chudnow), these will be
reused over and over
Oboe Mandrel - this is used to hold the staple during tying. It needs to fit your
staples precisely
Thread - size FF in your favorite color (or two or three), though it's easiest to learn with
and write/notate on a lighter color (i.e. get yellow or pink instead of purple or black)
Beeswax - used to coat the thread
Knife - there are many types of reed knives to choose from - I use a
Landwell-medium, they are expensive, but it is worth it. If sharpened regularly, a knife can
last for years. Be careful and always store it in its sheath
Sharpening Stone/device - There are many types of sharpening implements and
techniques; I use a Wicked Edge system and crock sticks
Cutting Block - medium or large
Plaques - get a few, especially if you tend to lose small things. I prefer flat
steel plaques with a rounded tip
Reed Case - you may need to upgrade to a bigger case, or multiple cases since you
will have more reeds now
Short Metric Ruler
Razor Blades - you can get a pack of 100 from a hardware store or order from a
double reed supplier
Medium C-Clamp - easily found at your local hardware store
Leakproof Tupperware for Water - cereal bowl size is perfect
Pencil & Notebook - you'll have a lot to write down and keep track of
Container - You'll need something to keep all your reed making supplies in.
Most of my students use a craft/fishing tackle-box. Basically, the more compartments the better.
A Powerful Desk Lamp - you need to be able to see what you're doing
Sturdy Desk/Table
Micrometer - this is not necessary in the first few weeks of reedmaking, but if
you are getting serious about it, you will need one
Cane: Gouging and Shaping
The principle material used in making oboe and English horn reeds is Arundo donax
or "Giant Cane." This organic material is both strong and flexible. It is the same type of cane
used in making reeds for bassoon, clarinet, and saxophone.
Cane can be purchased in several forms, the most natural of which is "tube cane" which needs
to be processed before it can be tied onto the staple for an oboe reed. Professional oboists
generally do these steps themselves in order to control as many variables as possible. The equipment
needed to process cane is not inexpensive.
Cane may also be purchased already gouged and shaped, by simply ordering "pre-shaped cane"
if you do not have access to this equipment. Beginners should buy pre-shaped cane for now. Eventually,
you will need to purchase the tools and learn to pregouge, gouge, and shape your own cane.
If you wish to purchase your own tube cane, you will need the following tools to process it:
Pre-gouging and Gouging:
- Radius Gauge
- Cane Splitter
- Guillotine
- Planing Device
- Gouger
- Micrometer
Shaping:
- Easel
- Shaper Handle
- Shaper Tip
- Razor blades (lots!)